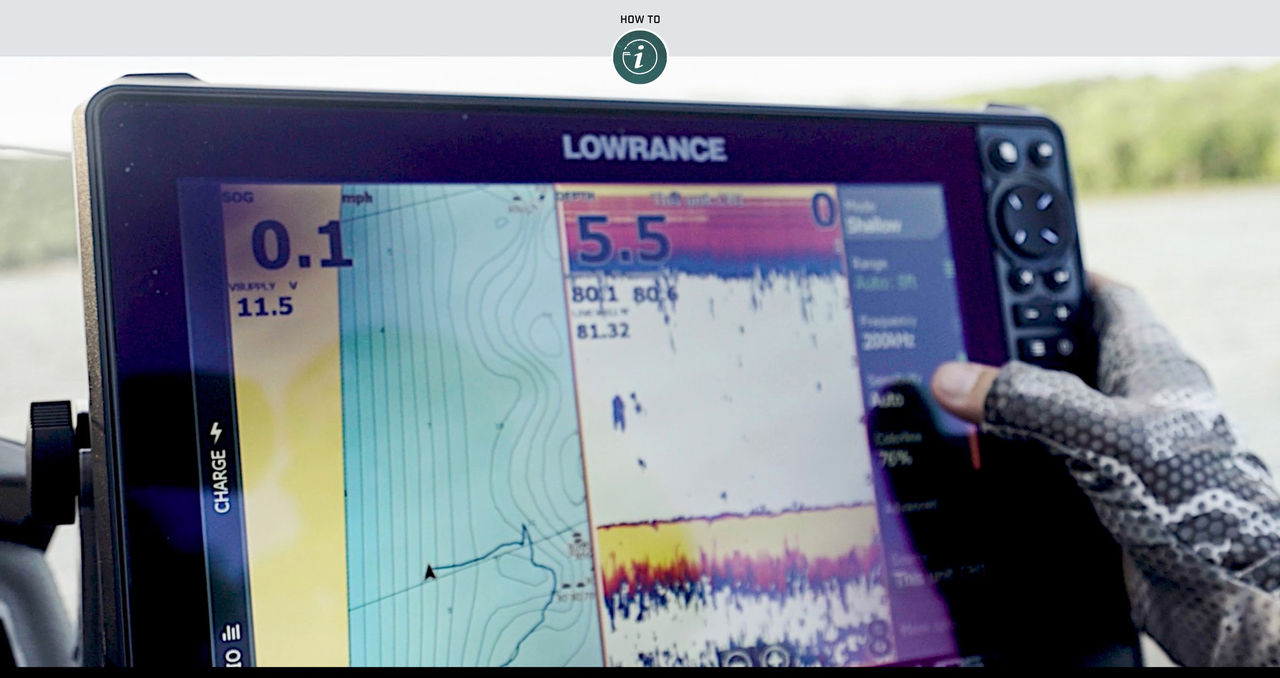
Electronics are crucial components to an angler’s success, and they also can serve as practical navigation tools. While “electronics” is a broad term that can mean many different things, the most common form is sonar. Sonar is a system that detects objects under the water by emitting sound pulses. Once these pulses hit an object and are reflected back, the unit takes this data and converts the time between when each pulse was emitted and when it returns into distance, displaying a 2D picture of the world below. The sound pulses derive from a transducer, a puck-shaped object, usually affixed to the boat’s transom. A properly working transducer will make soft clicking noises as it transmits.
Most anglers navigate with a split-screen setting on their display – mapping on one side and sonar on the other. Using GPS, the mapping view allows for a broader positional perspective and the ability to track to specific waypoints. The 2D sonar view is a more precise reading of what is directly under the boat.
Modern sonar units are so advanced that running them on their default settings can provide most of the information anglers need, though in many cases, it’s helpful to make some adjustments based on where and how you fish.
Sensitivity
Perhaps the most important sonar setting is sensitivity. Sensitivity is the sonar’s ability to read sound pulses. An increase in sensitivity allows an angler to see smaller objects and weaker 2D sonar returns, but the downside is that the display will show more clutter. Most anglers seek a balance, desiring both a strong, but clean view. In dirty water or situations with heavy algae, it’s prudent to slightly reduce the sensitivity.
“If you’re in 20 feet or less, you never need to add sensitivity, and in fact, you should reduce it some,” said Mercury Pro Team member Korey Sprengel, a professional walleye angler and one of the hosts of “The Next Bite” TV show. “Dialing it back just helps clean the picture up, allowing you to interpret it better. When I start to add sensitivity is in that 50-foot-plus range. Let’s say if I’m salmon fishing in 150 to 200 feet, that’s where it really helps me pick up more fish down in the depths. Without the additional sensitivity, it will mark them faintly.”
Frequency
Another important sonar setting is frequency. Many sonar manufacturers use transducers capable of 83 and 200 kilohertz. Kilohertz is a measure of frequency equivalent to 1,000 cycles per second. Anglers can set their units to operate on either 83kHz or 200kHz. It’s also possible to run both 83kHz and 200kHz together, known as dual beam or dual frequency.
Frequency is important because it reflects the number of sound pulses that leave the transducer during a time interval. Generally, the 200kHz setting is going to offer significantly better detail. However, there are situations where 83kHz will shine. On flat, featureless lakes where fish suspend, 83kHz will outperform since it emits a broader sonar signal, which spreads out in the shape of a cone and effectively covers more area. The 200kHz setting shines when marking fish close to the bottom, when target separation and detail are important. The 200kHz setting has a narrower sonar cone angle, which helps to refine the image.
“If you’re fishing around structure and dragging things that are tight to the bottom, the higher frequency is the way to go,” added Sprengel. “You have better target separation and better bottom separation. With the low-frequency mode, you lose detail toward the bottom, but you have a broader range because of that wider cone angle. It offers way more coverage.”
Color Palette
Color palettes, while often overlooked, are also important. Sprengel prefers color palettes that offer the most shading.
“I want to interpret what the unit is printing instead of having the unit interpret it for me,” he said. “On my unit (a Lowrance® HDS display), I prefer color palette 1 with the white background. Blue is the weakest signal strength, red is a little harder (surface) and yellow is the hardest (surface).”
Fishing/Depth Mode
Lastly, most sonar units come with three different modes – shallow, general and deep. Shallow is a relative term, and most manufacturers delineate shallow from deep at 100 feet. Most freshwater and inshore saltwater anglers, therefore, keep their sonar unit on shallow-water mode.
“Shallow is best as long as you’re fishing 100 feet or less,” added Sprengel. “If you’re deeper than that, your unit simply will not lock on to the bottom.”
Modern electronics are user-friendly, and running the sonar with simply the default settings can still be effective. However, making a few key adjustments allows an angler to optimize the view below. A basic understanding of sonar settings allows an angler to be more informed and therefore more efficient. In the below video, Sprengel walks viewers through the different sonar settings on his Lowrance HDS unit.
You can see more from walleye pro Korey Sprengel by following him on Facebook and Instagram.
All trademarks are the property of their respective owners.
