In all 50 states, having at least one U.S. Coast Guard-approved life jacket per person on board the vessel is required. And they must all be in working condition and be sized appropriately for the intended user.
When it comes to choosing life jackets for your boat, inflatable PFDs are a great choice for many activities. The first inflatable PFD was introduced almost a century ago, and they saw widespread use by Allied military personnel in World War II in the early 1940s. Since then, they have been refined considerably, and today’s inflatable PFDs are lightweight, low profile and stylish. Consequently, they have become the PFD of choice for many boaters who don’t intend to enter the water on purpose, especially anglers.
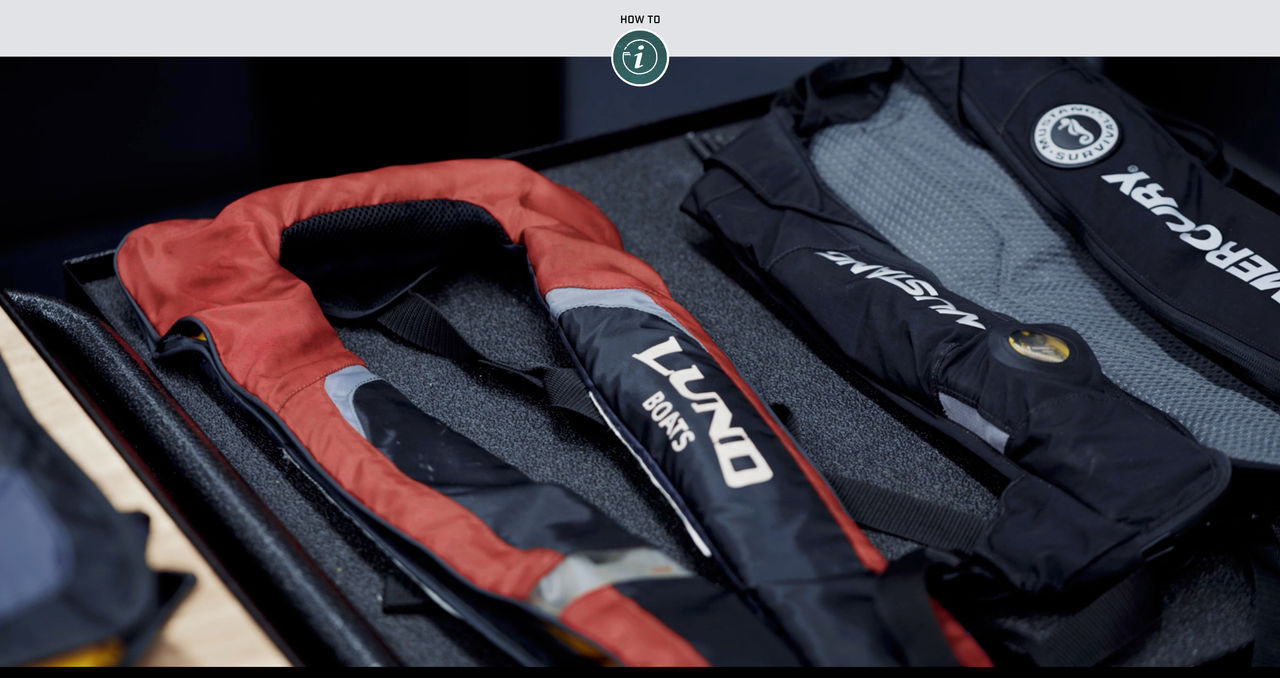
An inflatable PFD consists of a horseshoe-shaped collar that hangs around the wearer’s neck kind of like a scarf. The collar is made of a durable material that encloses a deflated flotation bladder and an inflation mechanism. There are adjustable nylon straps attached to the collar, which comfortably secure the PFD to the wearer.
The inflation mechanism is comprised of a special housing that holds a CO2 canister and a water-activated bobbin that combine to automatically (and rapidly) inflate the PFD when submerged. An inflatable PFD also includes a manual “ripcord” that can be used to activate the inflator, as well as an oral inflation tube that can be used to inflate the bladder in the unlikely event that the inflation device fails.
One of the best features of inflatable PFDs is that they are reusable, but you will need to rearm your vest with a new CO2 cartridge and bobbin in the event that it is ever deployed. In this short video from Wired2Fish, we’ll show you step by step exactly how to rearm an inflatable PFD and what to inspect and watch out for while you do it*.
- First, you’ll need a rearming kit, which contains a cartridge and inflation trigger. IMPORTANT: There are different sizes of CO2 cartridges and different styles of inflation triggers, so make sure you get a kit that is compatible with your PFD. To determine which kit you should buy, check the printed label on the PFD, your owner’s manual or the manufacturer’s website. Using the wrong kit is not safe as it may cause the PFD to malfunction.
- If at all possible, let your PFD dry completely before rearming it to lessen the possibility of mold or mildew growth.
- Remove the spent cartridge by unscrewing it in a counterclockwise direction. It should only take a quarter turn or so before it releases.
- Inspect the bladder, cover and straps for any signs of wear or damage. If any part of the PFD looks suspect, you should throw the whole thing away and get a new PFD; it’s simply not worth the risk to trust a potentially damaged piece of critical safety equipment.
- To deflate the air bladder, locate the manual inflation tube and remove its cap. Turn the cap over and push the top of it into the tube to release the check valve (similar to the way you would depress the valve core of a bicycle or car tire) to allow the air to escape. While the check valve is depressed, use your other hand (or the help of an assistant) to completely flatten out the bladder and push out all of the air. Once the bladder is completely empty, replace the cap.
- To remove the used bobbin, unscrew (counterclockwise) the tube/container that is located immediately adjacent to the CO2 cartridge socket. The bobbin is a small, circular piece of plastic that will be apparent and easily removable once the mechanism is unscrewed.
- Make sure the inside of the inflation mechanism is clean and dry. If it’s not dry, do not proceed until all moisture is gone. If there is any dirt or debris present, wipe it away with a clean, dry cloth.
- Put the new bobbin from the kit in the mechanism exactly how the old one came out. The bobbin has grooves that correspond to ridges inside the inflation device so it can only be installed in the correct orientation. Once the bobbin is in place, reassemble the mechanism by screwing it back together in a clockwise direction.
- Note: The new bobbin will have an expiration date printed on the side of it – if the date has passed or is near, get a new bobbin that has a longer useful life. Once a bobbin is out of date, there is no way of knowing if it will trigger inflation as designed in an emergency situation.
- Most inflatable PFDs have rearming instructions printed inside the cover, so consult them, your owner’s manual or the manufacturer’s website as needed.
- Note: The new bobbin will have an expiration date printed on the side of it – if the date has passed or is near, get a new bobbin that has a longer useful life. Once a bobbin is out of date, there is no way of knowing if it will trigger inflation as designed in an emergency situation.
- Double check that the CO2 cartridge matches the instructions and illustrations printed on the PFD to ensure that it’s the right size, then install it by pushing the tip of the cartridge into the socket. While pushing with your palm to fully seat the cartridge, turn a quarter turn or so clockwise to lock it into place.
The inflation mechanism will have a small window in the side that reveals a color indicator. When the cartridge is spent or is removed, the indicator will be red. Once the new cartridge is in place and properly locked in, the indicator should be green.
- Carefully fold the air bladder so that it fits neatly within the cover, then close the cover using the fasteners as indicated by the instructions.
That’s it – your inflatable PFD is now rearmed and ready for your next outing. If after watching the video you still are unsure of how to properly rearm your PFD – or if you suspect the integrity of it may be compromised – consult your local Mercury Authorized Dealer or other marine specialty store for assistance.
*The rearming process shown in this video is specific to the inflatable PFDs used in the demonstration. Because the steps can vary based on brand and model, be sure to refer to the manufacturer’s owner’s manual for your PFD.


